What Is GNS3?
GNS3 is a graphical network simulator that allows you to easily design network
topologies and then run simulations on them. At the moment GNS3 supports IOS
routers, ATM/Frame Relay/Ethernet switches and PIX firewalls. You can even extend
your own network by connecting it to your virtual topology.
To do his magic, GNS3 is based on Dynamips, Pemu (including its wrapper) and in part
on Dynagen, it has been developed in python and through PyQt the GUI part is made
with the powerful Qt library, famous for its use in the KDE project. GNS3 also uses the
SVG technology (Scalable Vector Graphics) to provide high quality symbols for
designing your network topologies.
GNS3 runs on Windows, Linux and Mac OS X (other platforms not tested) and requires
the following dependencies to be installed if you want to use it from a source archive
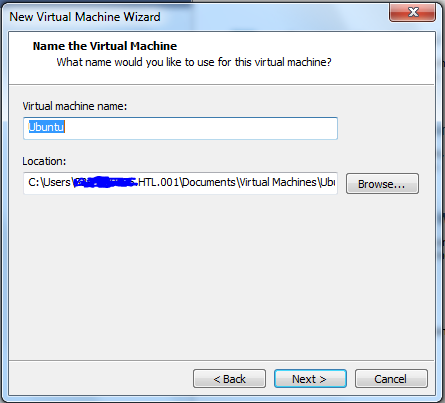
- Create a New Virtual Machine
- “I will install the operating system later”
- Linux, Ubuntu
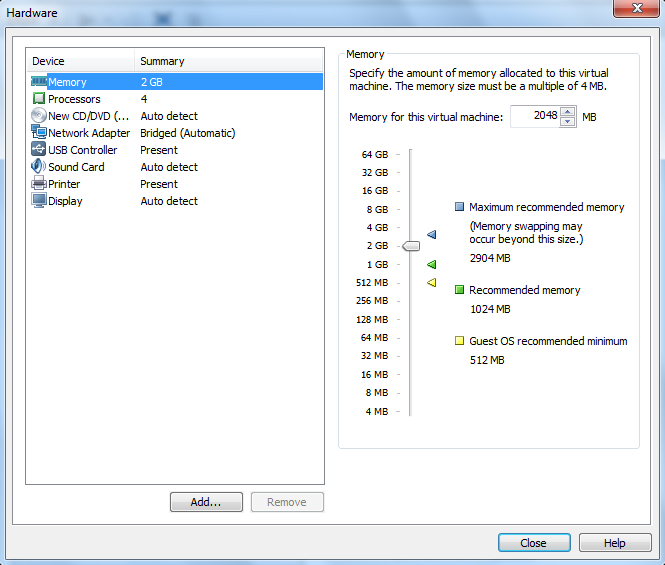
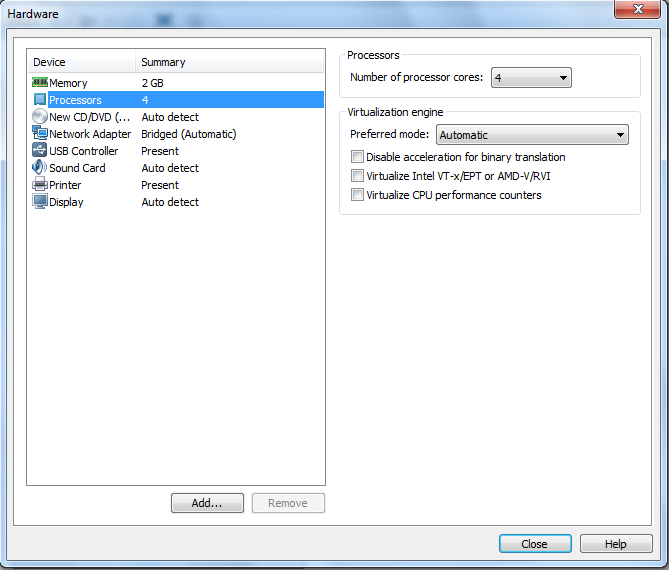
- Customize: Network-Bridge und ISO-Image unter “New CD/DVD” einhängen (C:\temp\gns3\gns3.iso), Memory und Anzahl CPUs erhöhen.
- Starten, Filetransfer am besten über USB-Stick
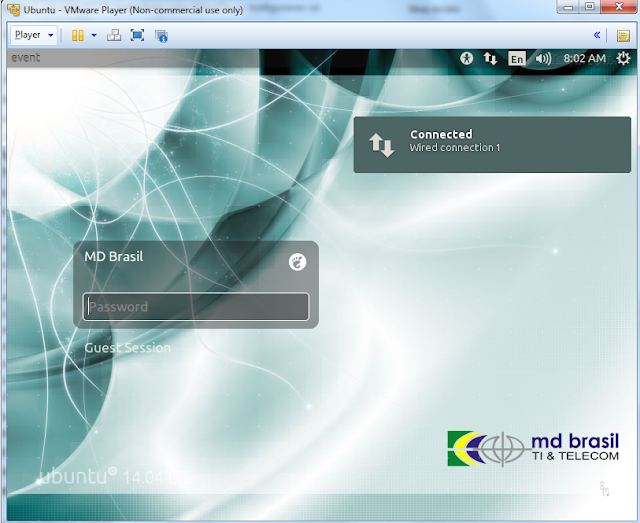
- Einloggen (Passwort: mdbrasil)
- Deutsche Tastatur einfügen (System Settings - Keyboard)
- Terminal starten, TAP-Device hinzufügen
sudo bash
modprobe tun
tunctl -t tap0
brctl addbr br0
ifconfig tap0 0.0.0.0 promisc up
brctl addif br0 tap0
brctl addif br0 eth0
ifconfig br0 up
ifconfig br0 xx.xx.xx.xx/24 - gksu gns3
- Router, Switch und Cloud hinzufügen. Router starten (bei mehreren jeden extra starten, sonst ist die CPU load zu hoch).
- Cloud mit tap0 verbinden
- IP-Adresse am Router konfigurieren, Default-Route hinzufügen
- Konfiguration im Browser
Um sicherzustellen, dass man eine unbenutzte Ip-Adresse verwendet sollte man ein neues Terminal öffnen und an die gewünschte Ip-Adresse pingen.
Nun kann man ein Netzwerk aufbauen:


Keine Kommentare:
Kommentar veröffentlichen